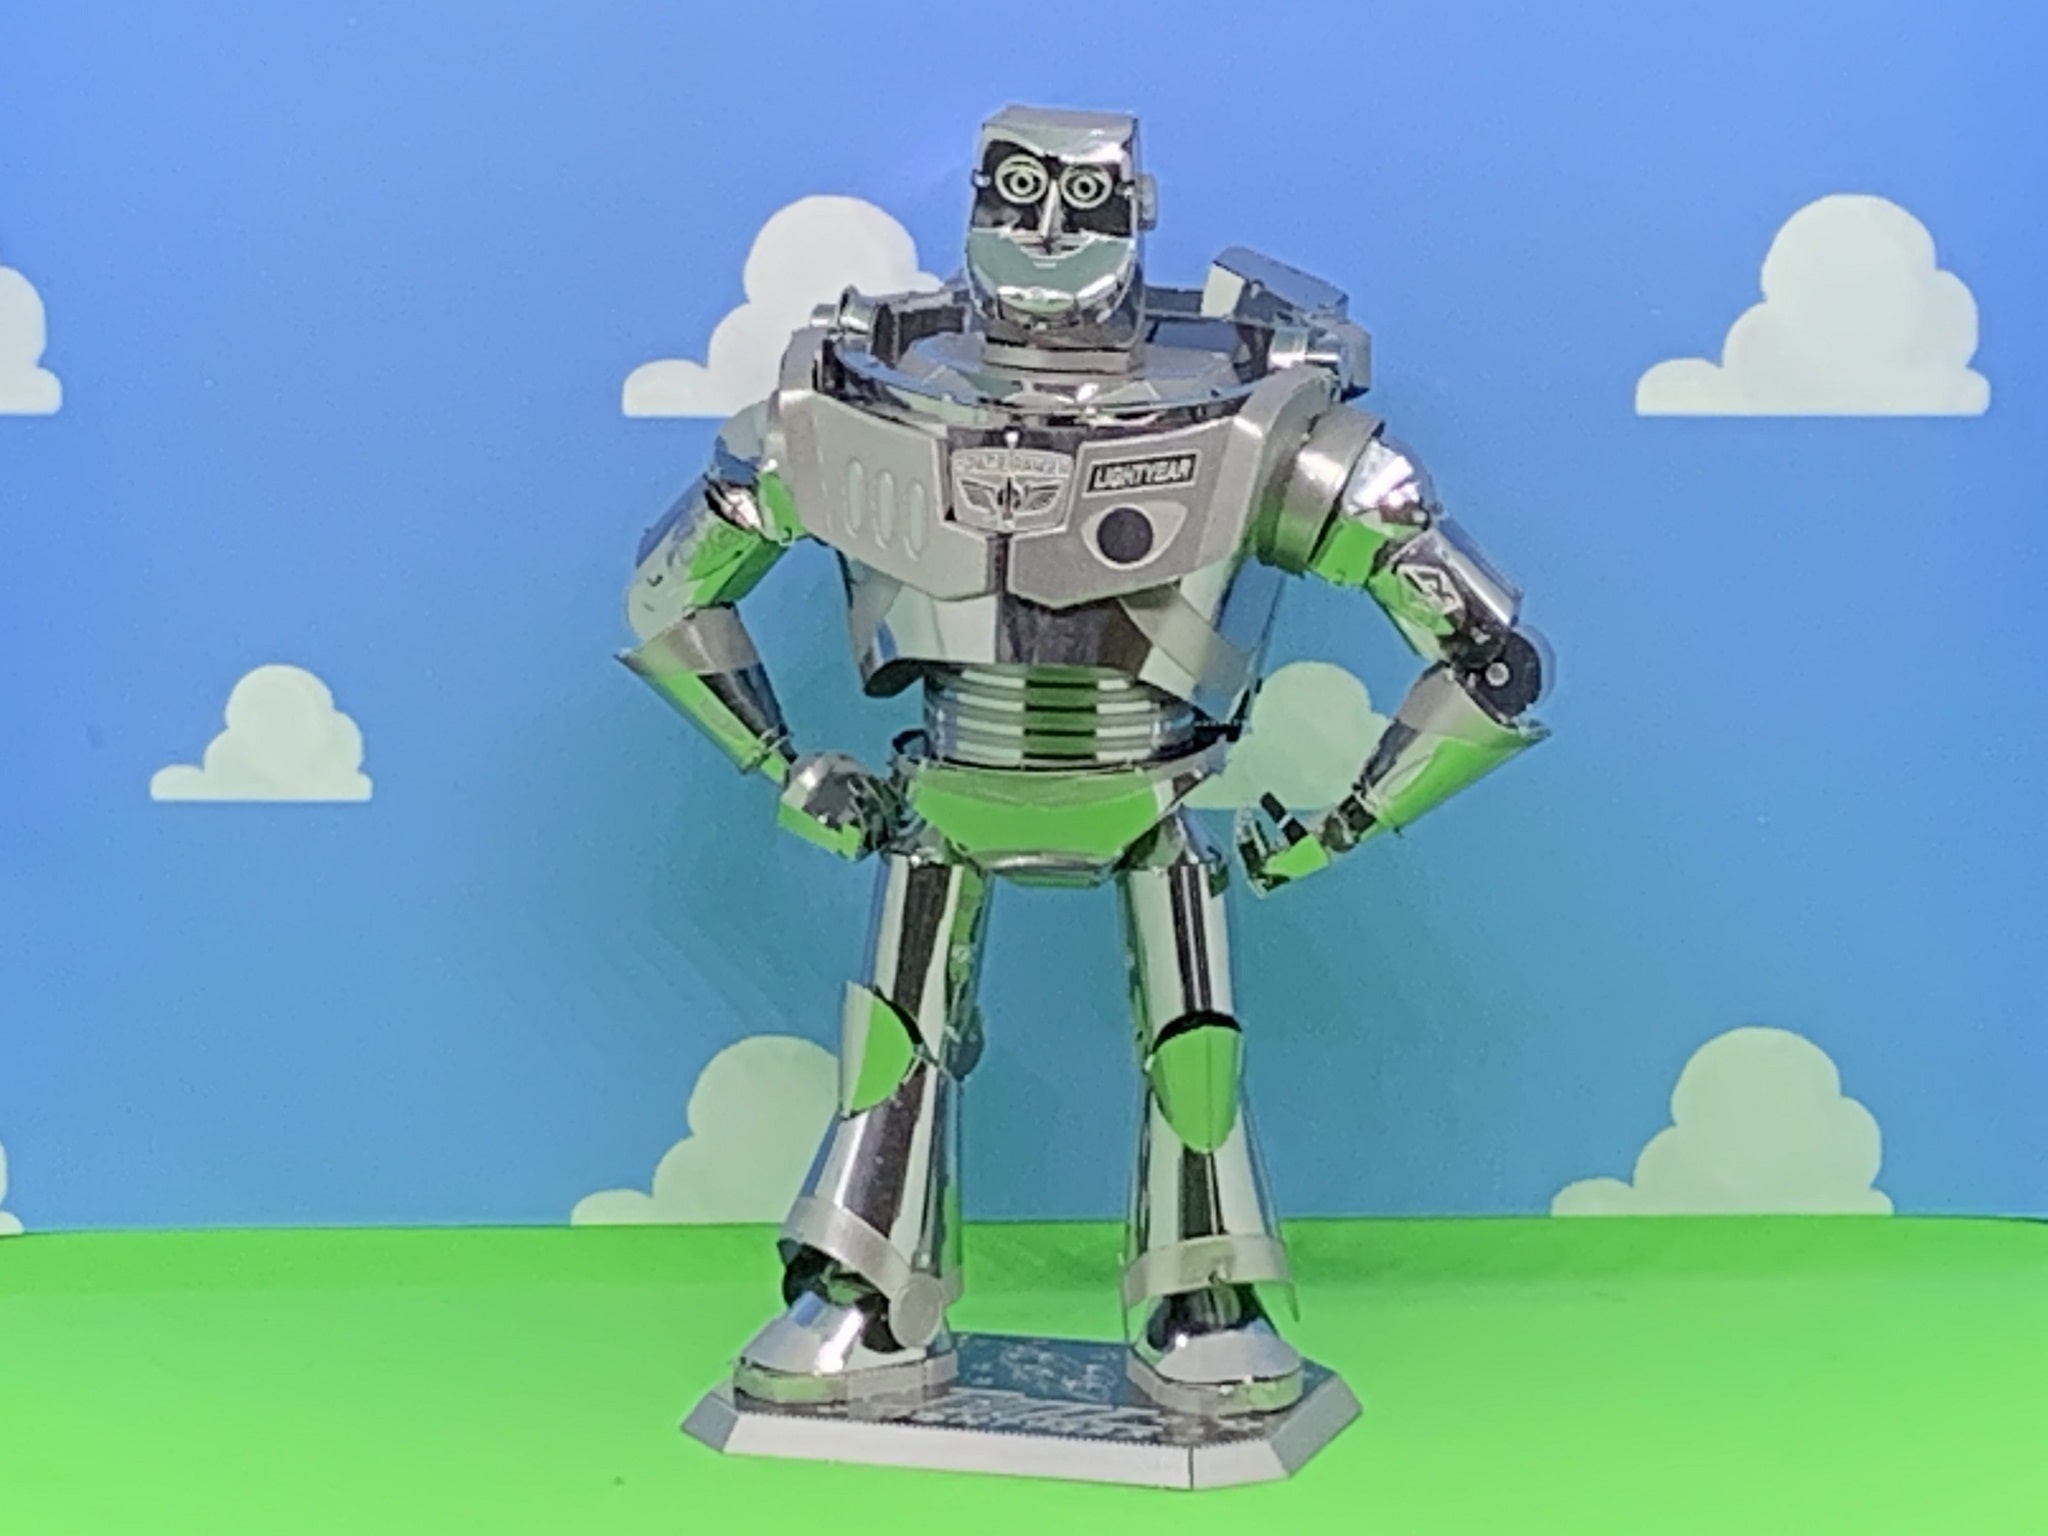
The Tenyo Buzz Lightyear metal model is a lot of fun to build. I’m going to review the kit and walk through a full build report. You can see some more pictures and a video of the finished model as you scroll down.
But first, in case you’ve been living under a rock the last 25 years, who’s Buzz Lightyear?

To Infinity and Beyond!
Buzz Lightyear, the Space Ranger toy, first came to life on the big screen in 1995. Toy Story was a box office bonanza for Walt Disney Pictures and Pixar Animation Studios from the day that it opened in November of that year. That first movie alone went on to make $373 million at cinemas, and led to the three sequels that have followed. To date, the Toy Story franchise has made more than $3 billion, and that does not include licensed toys and merchandise.
Actor Tim Allen has been the distinctive voice of Buzz Lightyear in all four of the franchise movies.
The Tenyo Buzz Lightyear Metallic 3D Nano Puzzle Kit
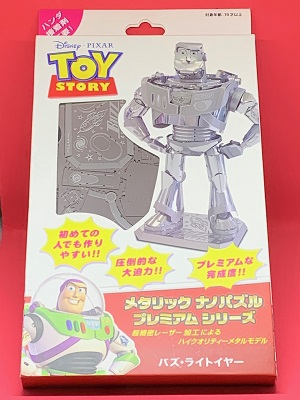 The Buzz Lightyear kit is part of Tenyo’s Premium Series of “3D Nano Puzzles”. I bought mine on eBay, and at the time of writing they are still available that way. You may also be able to get one from HobbyLink Japan.
Opening up the box you find two metal sheets that hold all the parts. They are nicely laser-etched, and prove to be really well-engineered. There’s no problem with fit, and the finished model is tight and looks right.
Action figures can often be some the more difficult kits to build, but this one was quite straightforward. Maybe not for an absolute beginner, but once you’ve built just a couple you’ll be ready for it. (Check out my post on recommended starter kits.)
A small problem … and a solution.
One of the challenges with some 3D metal model kits designed for Asian markets is that the instruction sheets don’t have a lot of English. Be prepared — this is definitely the case with the Tenyo Buzz Lightyear. Tenyo is a Japanese company, and the only English words to be found on this entire kit is the Toy Story logo on the front of the box and a couple of basic dimensions on he back. Everything else on the packaging and, more importantly, on the two enclosed instruction sheets, is in Japanese.
But I’ve written a post on how you can read these Japanese instructions using your cell phone. It’s really simply. Check it out.
The only other minor complaint I could make about the instructions is that quite a few of the parts are not numbered on the exploded drawings for the final steps of the build. But more about that later; it’s not a huge deal.
Let’s get on with it …
Building the Tenyo Buzz Lightyear
When you first open up the instruction sheets out of the box, you’ll notice a simple innovation that really makes things clear: metal parts sheet 1 is designated “black”, and metal parts sheet 2 is designated “red”. So all the way through the instructions, if the part number is in a black circle the part is on sheet 1. If the part number is in a red circle the part is on sheet 2.
That doesn’t sound earth-shaking; in fact, it sounds a bit of an obvious idea. But all 3d metal model kits DON’T do it, and it makes parts identification so very easy. Love it! Well done Tenyo.
Building from the top down
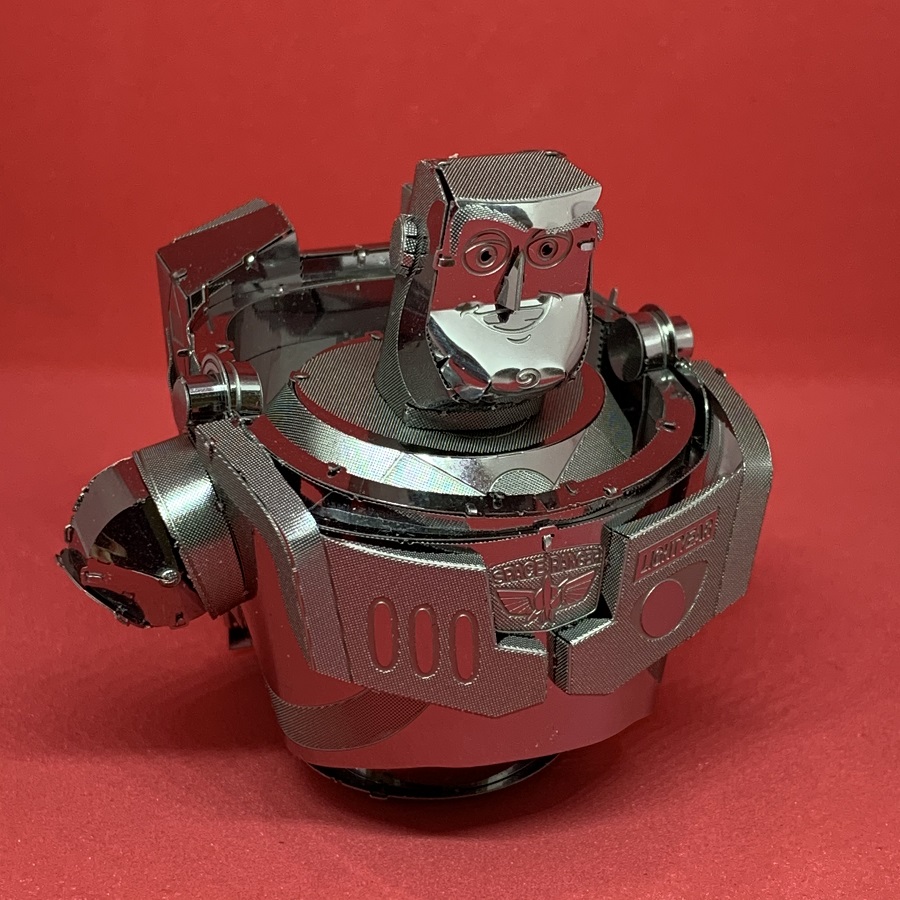
Construction begins with the head.
Take your time with the face. Getting all the tabs to line up is tricky, but extra care will be worth the effort in the end. Remember that Buzz’s face will naturally attract the eye’s attention, so you want to get it as nice as possible.
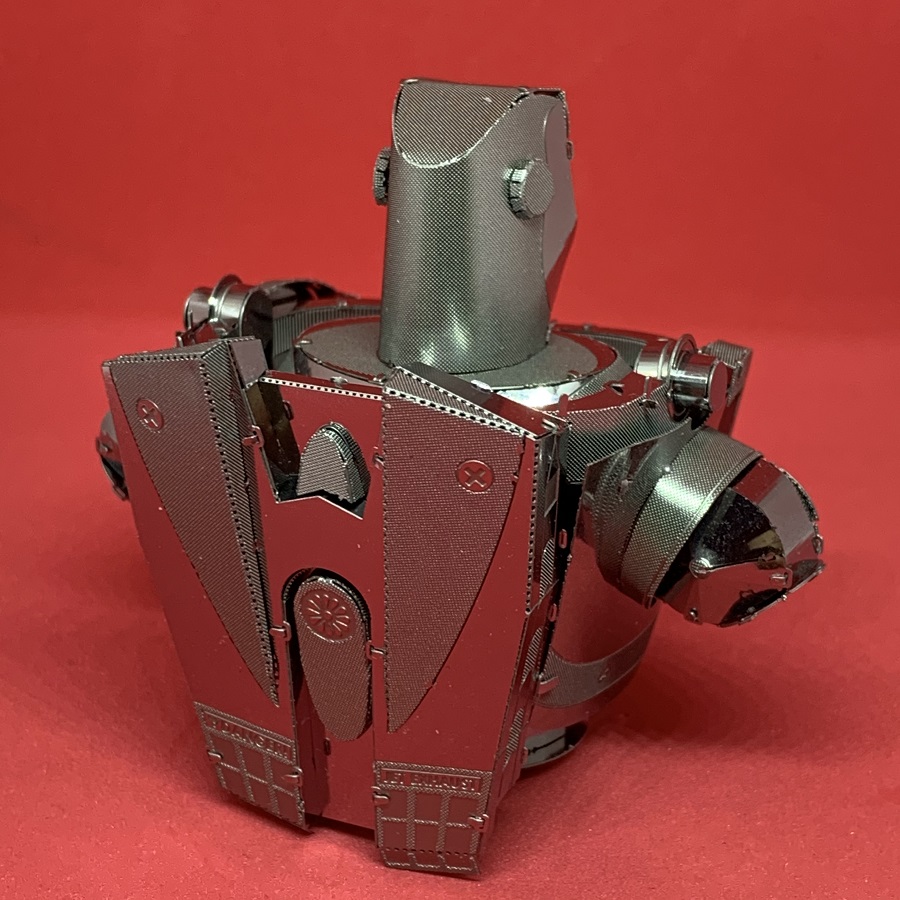
After the head is made, and attached to the “collar”, the next piece you’ll work on is the tubular center column, which the torso will be built over. It’s here that I made a very silly mistake …
This is the kind of thing that happens when you don’t pay close attention to the instructions and what you’re doing. When it came to attaching part #8 to part #7, I put it on upside down.
Here’s the thing, putting it on upside down won’t affect the build. Everything still fits, and you can keep going. This is still instruction panel 1, and I didn’t notice the mistake until I got all the way to panel 7! Then the mistake became obvious, because at that point you want to be able to see the horizontal lines which should be right above the waist. But because I had it on upside down, the lines were hidden up inside Buzz’s torso. Ugh!
So, I spent about an hour getting the center column back out of the half built model so I could reattach it the correct way. Fortunately, I was able to do it. But what a headache! Lesson learned … pay attention.
Attaching the jetpack
The “jetpack” that Buzz wears on his back is very simple, but it looks great once you get it on, Suddenly the model is beginning to look like something. The etched detail is terrific.
The build really does proceed fairly easily, but it does entail quite a bit of shaping, which is why I suggest it’s not an absolute beginner kit. Creating nice, even cylindrical shapes, for example, does take a little practice. But having said that, the shaping in this kit is not extremely difficult — there’s just quite a bit of it.
Watch out for those joints
Another thing to be careful with is cutting the correct pieces from the metal sheets when you are making the shoulders, elbows and knees. In other words, all the joints.
Take a moment and compare part numbers 47 and 48 with 56 and 57. They are very similar assemblies, BUT the sizes are different. You could easily mix them up.
NOTE: The part numbers from part #56 onwards are on a second exploded diagram on instruction panel 10.
That’s easy to miss, and you can end up scratching your head wondering why some parts aren’t numbered on the first diagram at the start of the instructions. I just caution you to take your time with those joint parts that I’ve mentioned, because you could use the wrong size on the wrong joints if you’re not being careful.
Giving Buzz a strong base
Instruction panel 7 is a really important step to ensure that you have a model that you can display with no problems. It’s imperative that you bend part #55 correctly, and make sure that it sits evenly down on a flat surface.
Then you need to attach Buzz’s feet to the base with really nice and tight with the four twist tabs. Otherwise you may end up with a wobbly model.
Conclusion
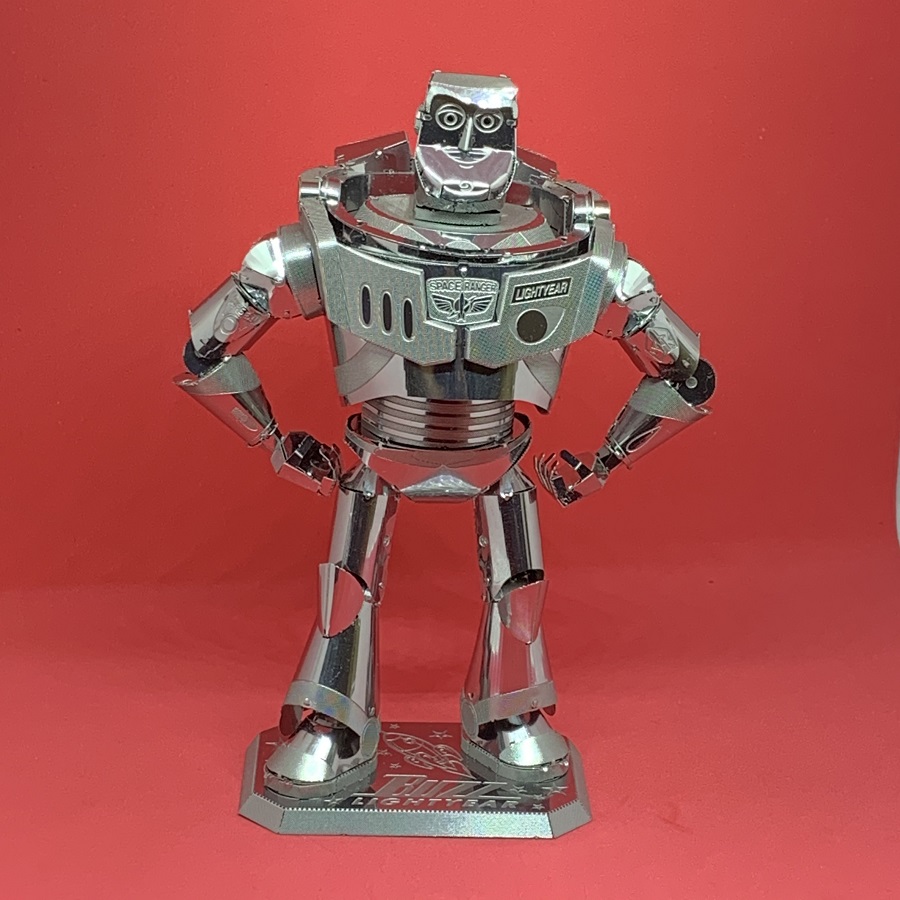
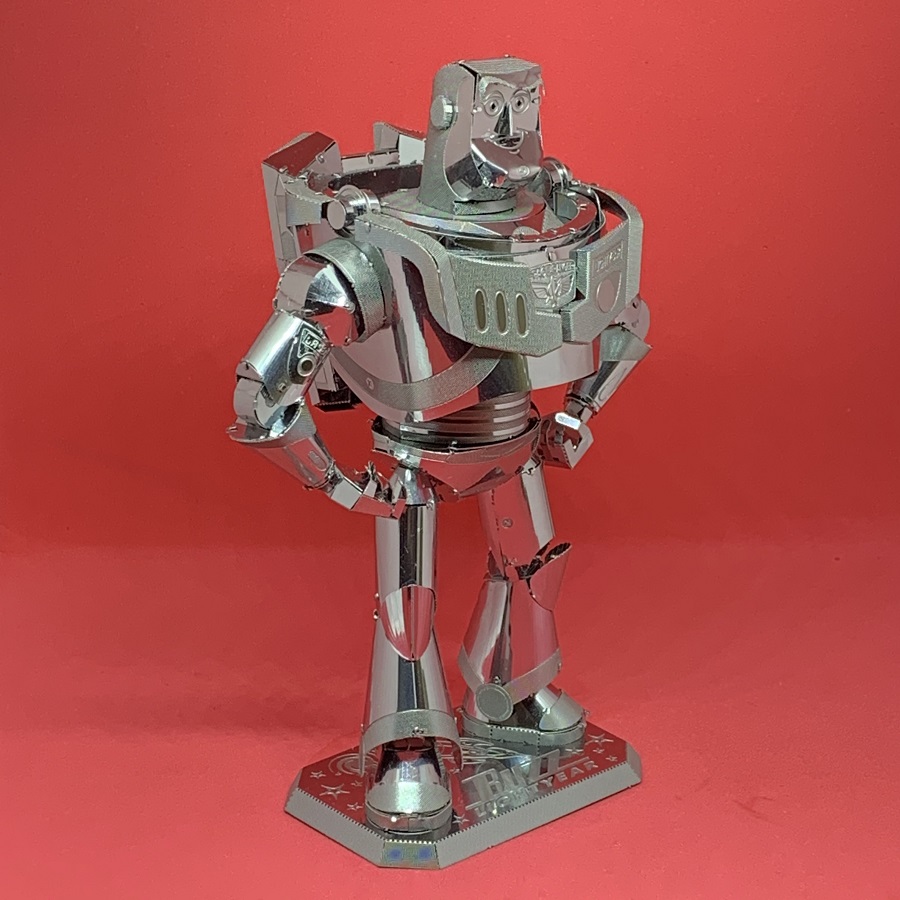
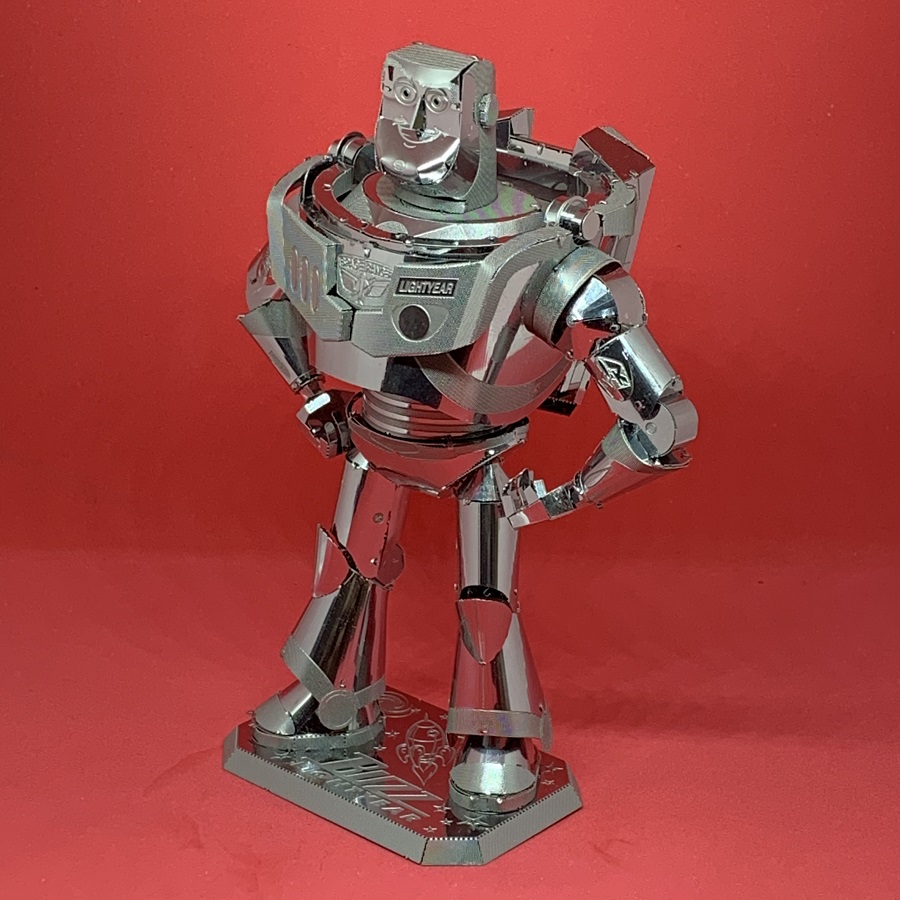
I loved building the Tenyo Buzz Lightyear, and it really stands out in my 3D metal model collection. It gets comments.
I recommend it. Check out the pictures below of the finished model, and scroll down to the very bottom for a short 360 degree video.
Thanks for reading. I’d love to hear your thoughts about this kit, especially if you’ve built it yourself. Leave a comment.
 |  |
 |  |

Leave a Reply